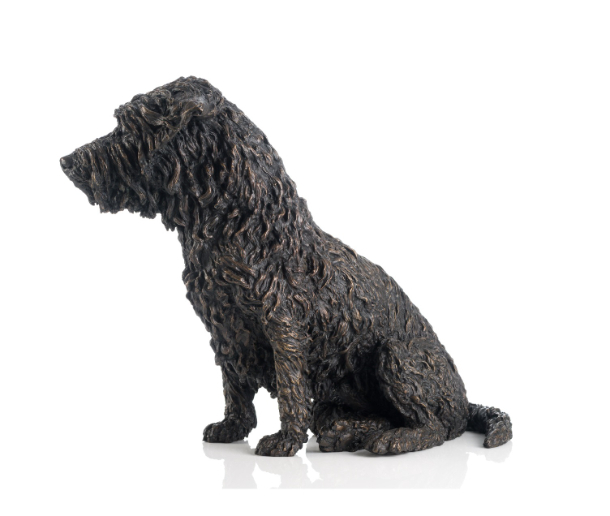
The Celebration of Milo

The Work on the statue of this special dog continued to completion – you can see the stages from the process and follow the blog by the sculptor, Joel, of the long detailed process to make a detailed portrait sculpture.
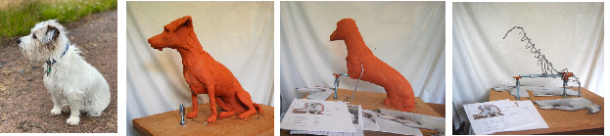
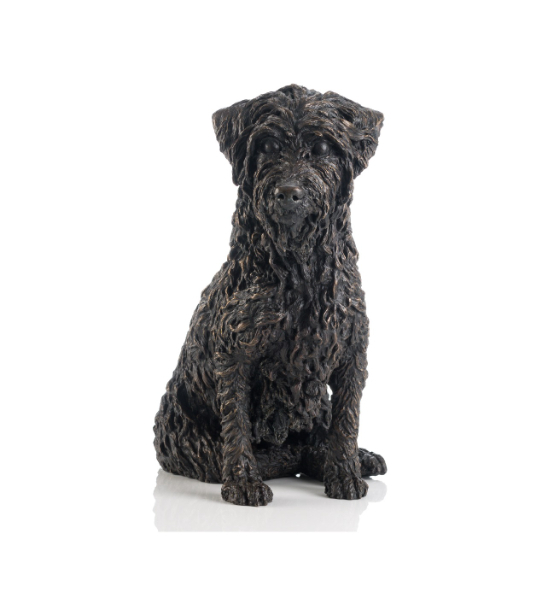
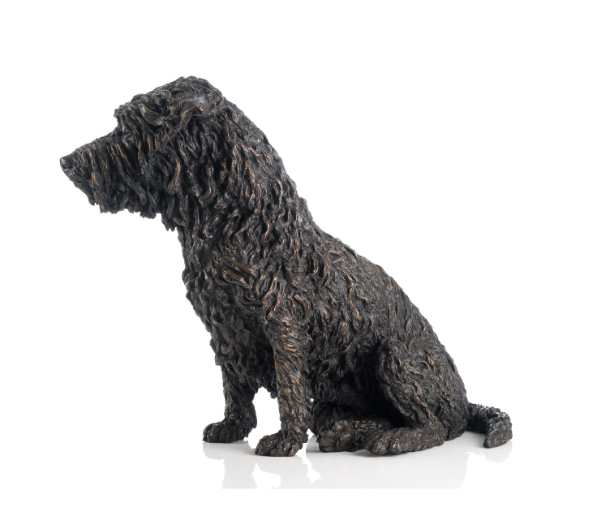
And below, the finished Milo statue in bronze
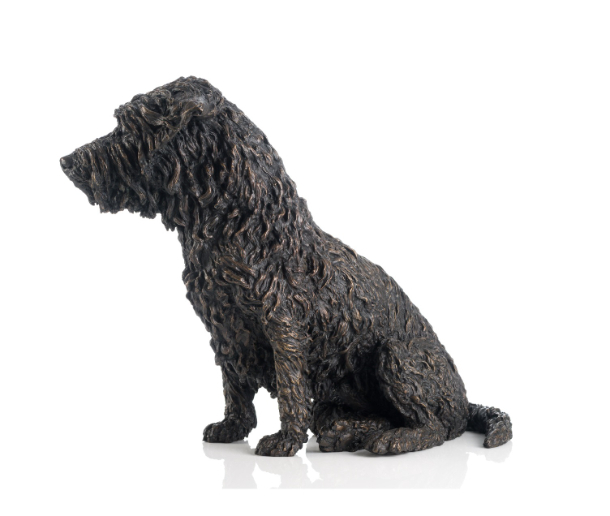
The Making of the Milo Statue – Clay to Bronze
Milo Statue Blog by Sculptress JOEL
We’ll start with the first stages of the making of the statue of Milo – all the process of the build of the armature to support the clay and study of measurements and proportions.
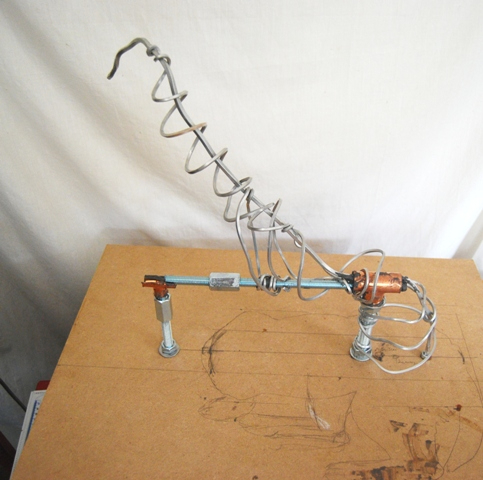
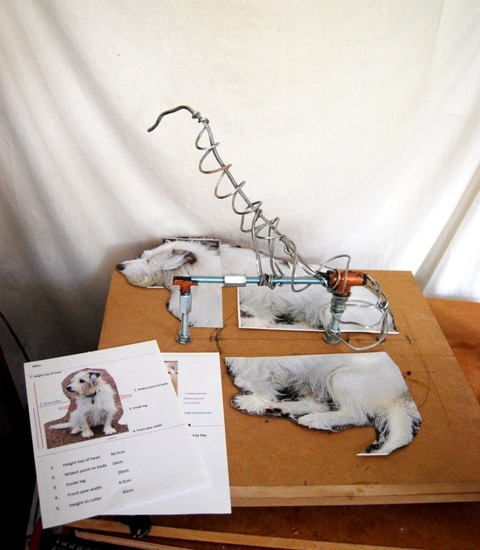
Leg wire and further additions to the armature …
The clay is built on carefully and developed up towards the top line
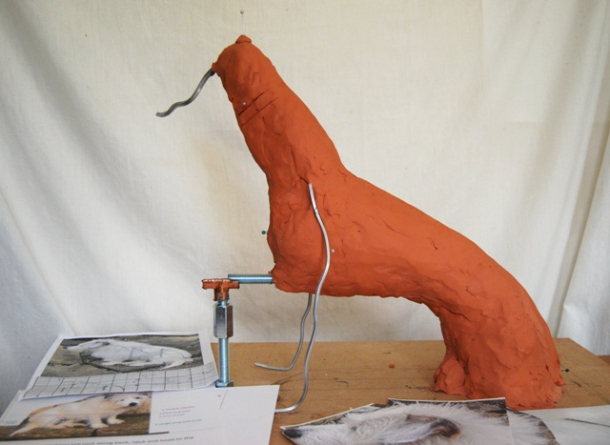
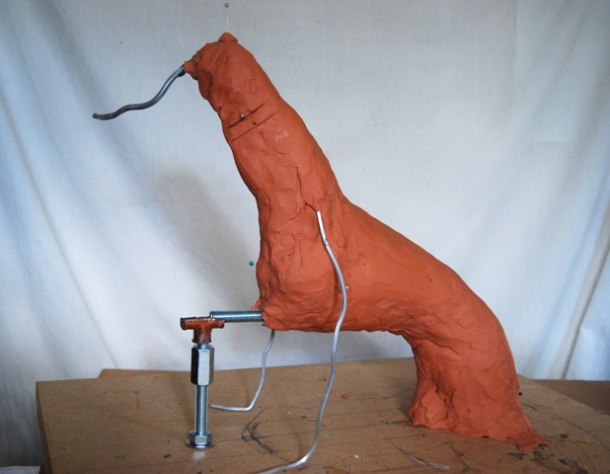
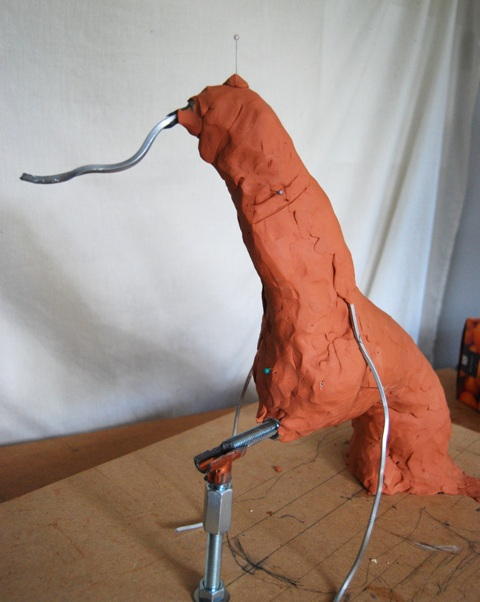
Now more work adding on to the lower profile and up towards and including the head
Sculptures do look strange in process
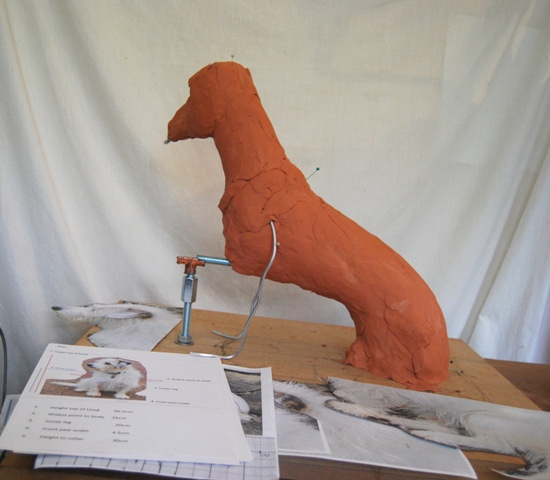
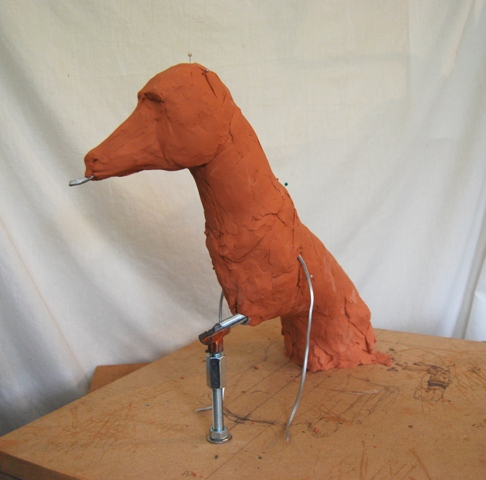
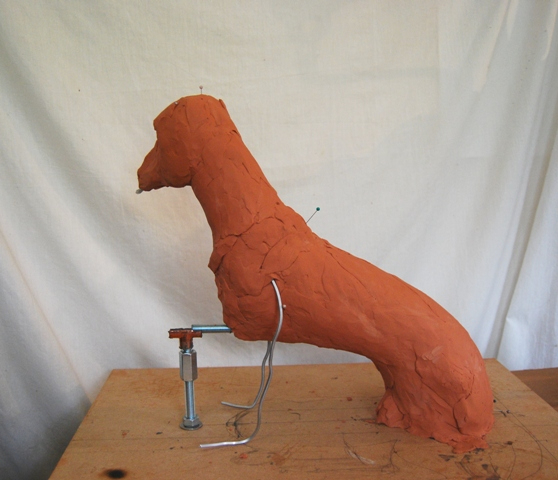
and we are in the long steady work of the body core and set of shoulders and then hips.
Next to check all the key points.
Another special Sitting – a great meeting with Milo’s people and the star himself – and important additions and changes to his body core and head pose.
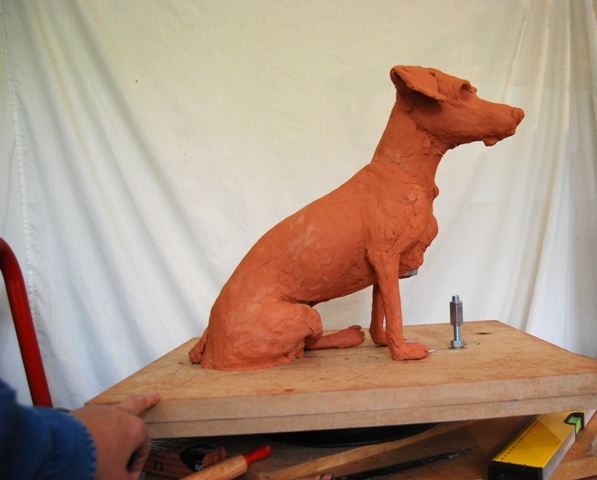
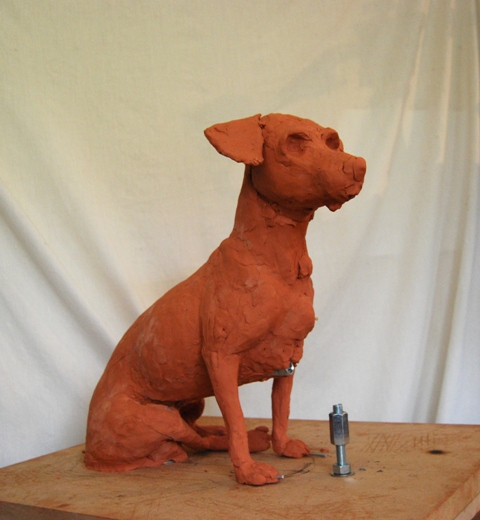
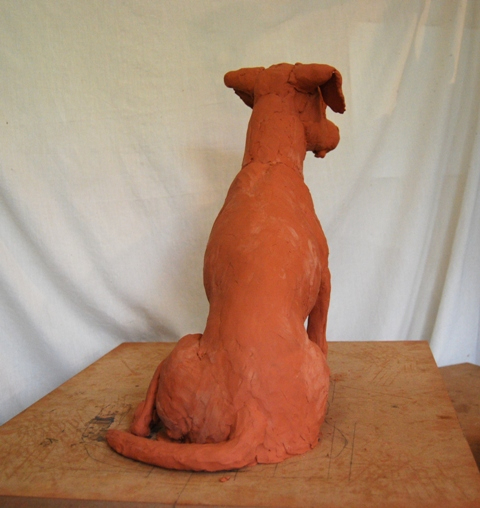
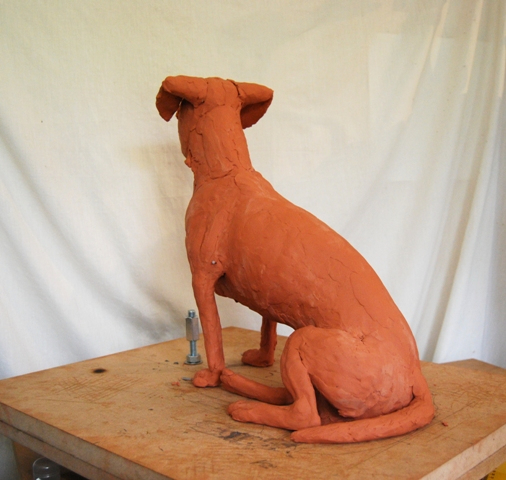
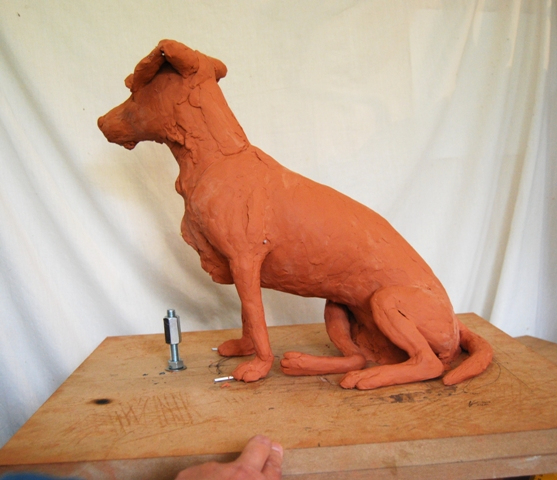
I have built up the ribcage and neck and shoulders and begun development of the lower profile.
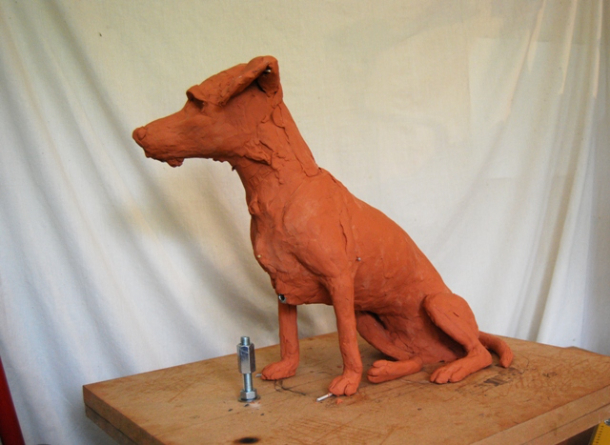
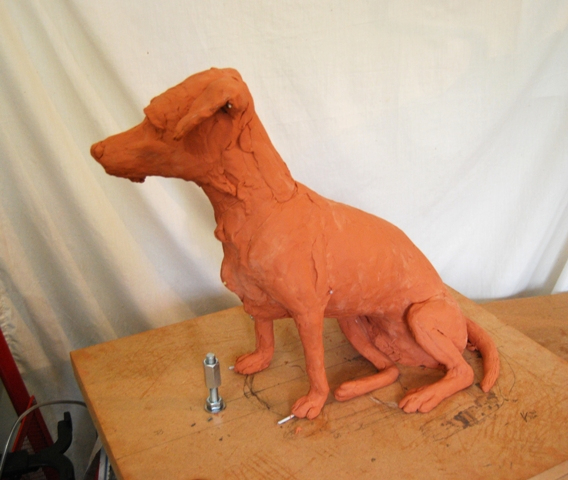
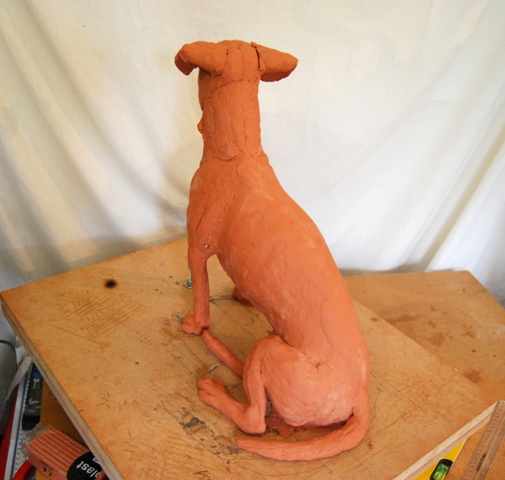
Sessions on settling in the body and developing the legs muscles, tendons and toes.

The back leg is not yet fixed on this side as more work is needed on the paw.
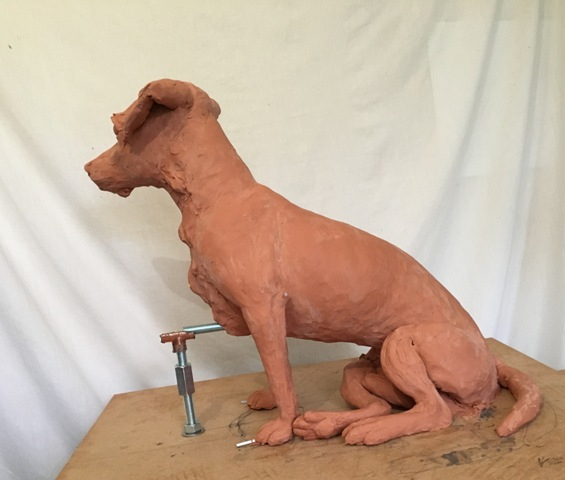
The head shape is progressing and I have sketched in the eyes
The camera has distorted the view a little but here is the statue from in front
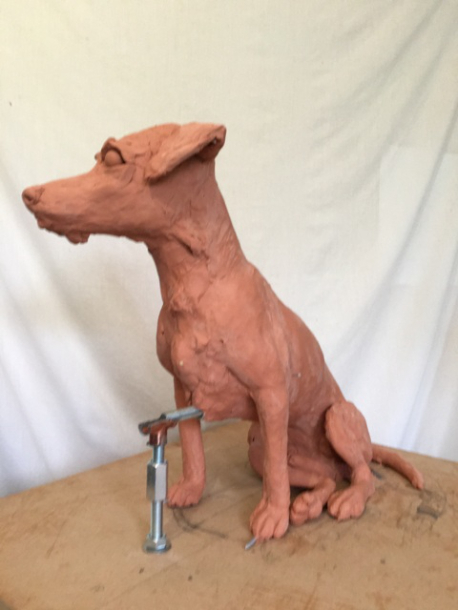
You can see the characteristic way Milo sits neatly on his back leg and the depth and breadth of chest of this terrier. I can see a little Parsons Terrier in his ancestry. – the length of leg, elegance of neck and shape of head and ear set…
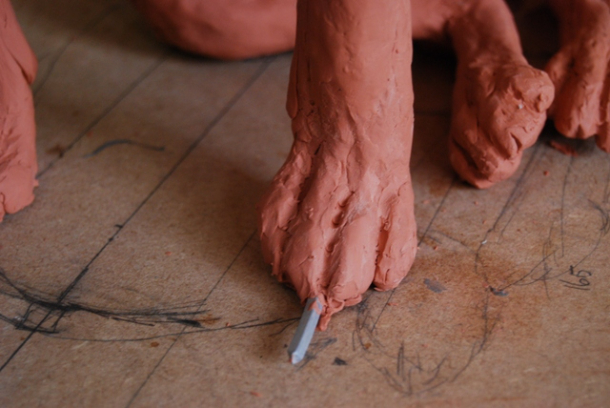
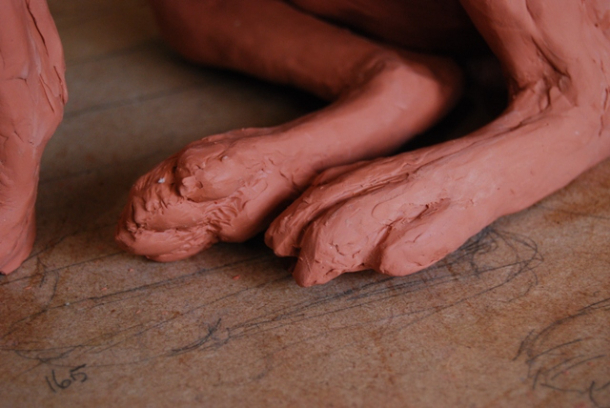
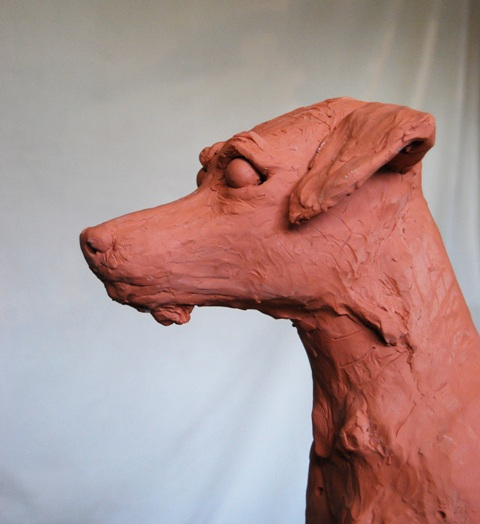
Many sessions on muscles and details beginning and the eyes are in…
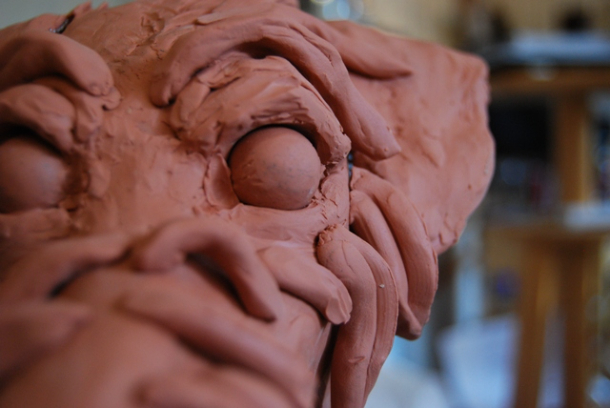
The eyeballs are settled in
and worked, with eyelids and hair details.
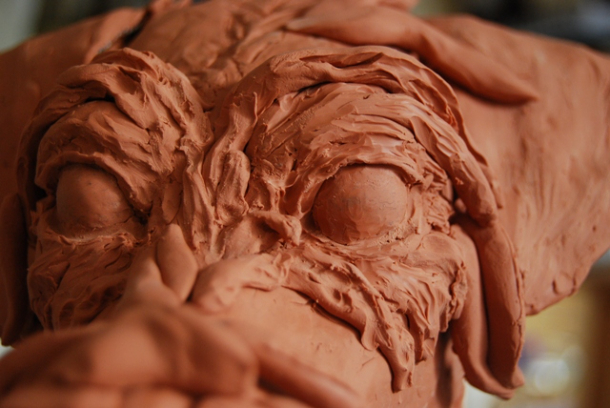
What a difference to those eyes
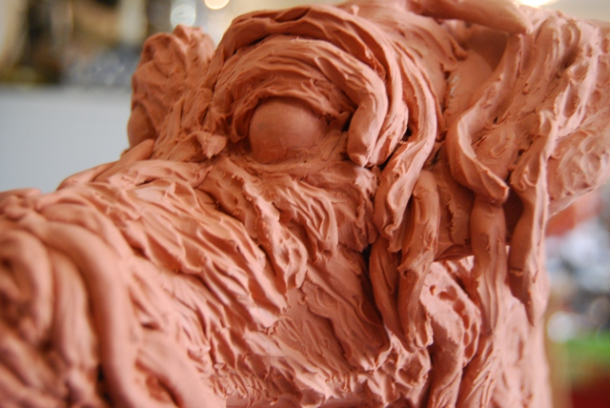
The long process of developing Milos’ furry coat starts.
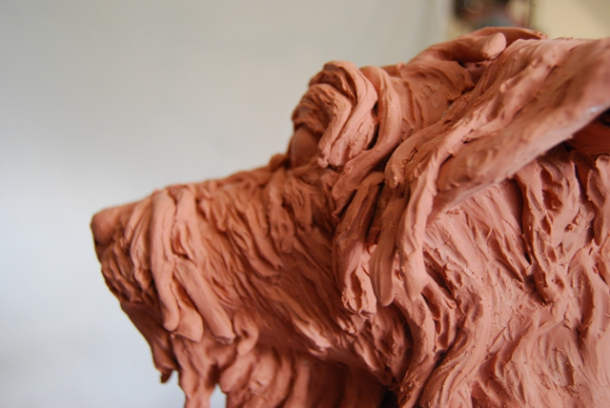
The hair on the underside is supported and is added – leaving spaces to give that sense of fine wavy coat.
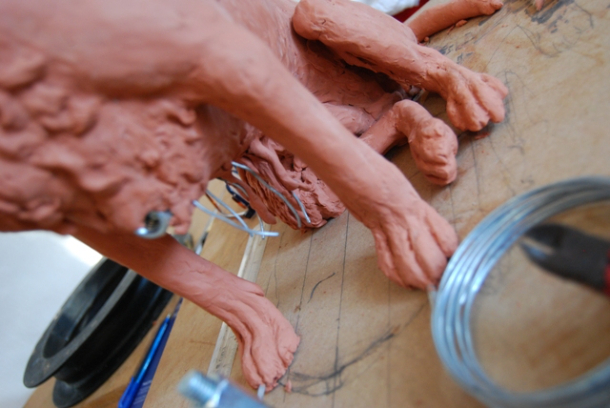
You can see the good beginning of adding his coat to the underside and to his back paw – I am mainly working on the most in accessible places as they will become less accessible as the detail develops.
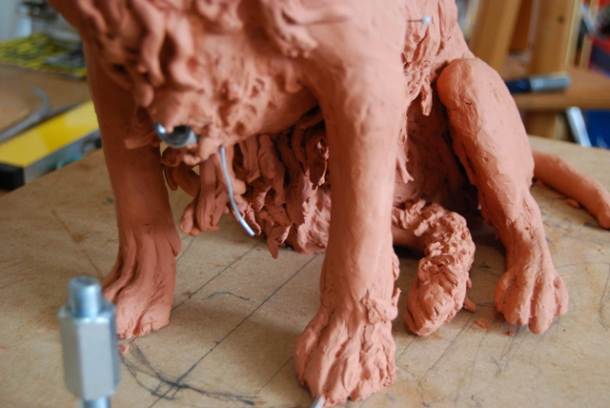
And we have the makings of hairy paws – two front toes and a back leg and paw….
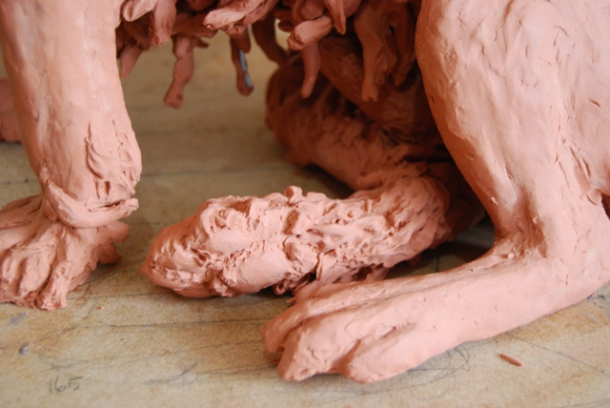
The aim is to be able to see daylight through some of the hair of the belly – to give that sense of lightweight hair.
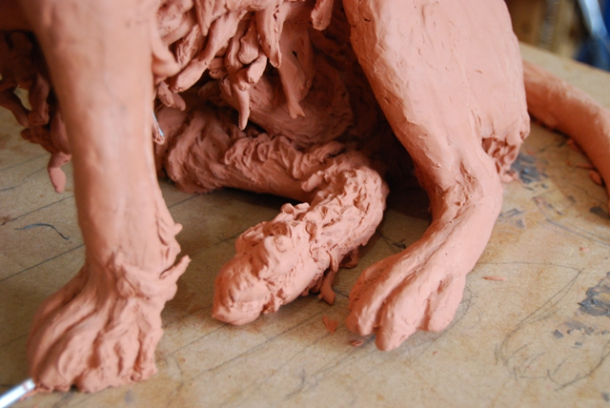
Once the clay settles even more detail can be added.
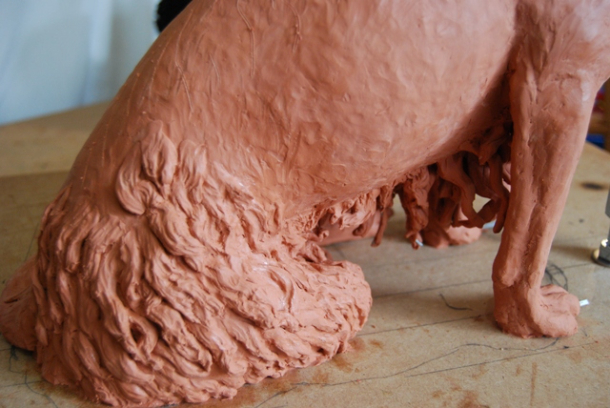
Here the right hip shows development – rather at the hairiest at the moment – it can be groomed in once the neck mane is in place. I am please with the way his coat is developing, and all the time invested starts to show result.
Here is the right side of the head – which is next to have the hair layered on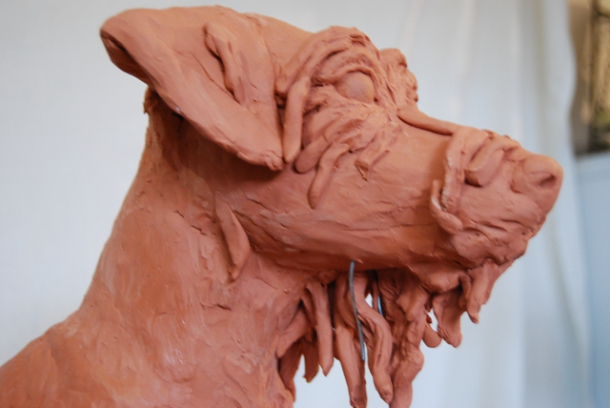
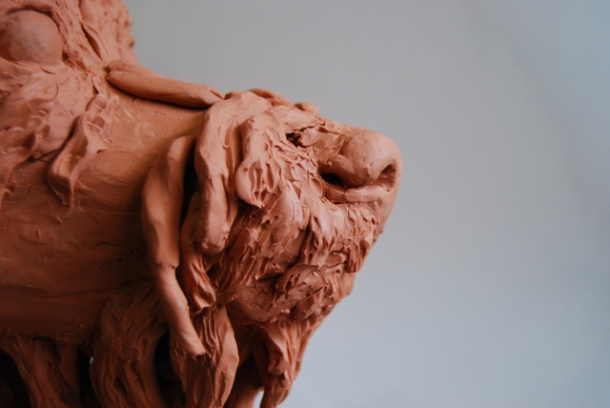
More hair on the nose on the right
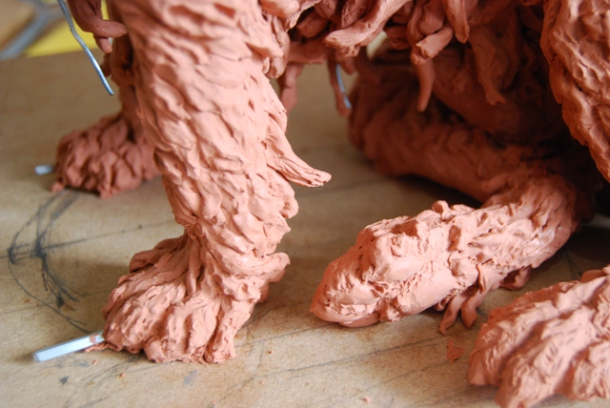
Front left paw getting the hair!
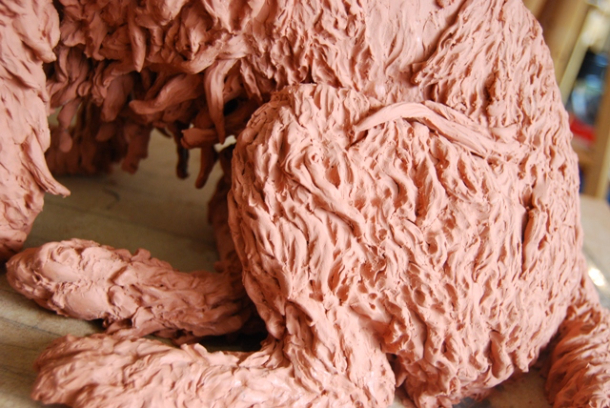
Hair developing on the left leg and hip.
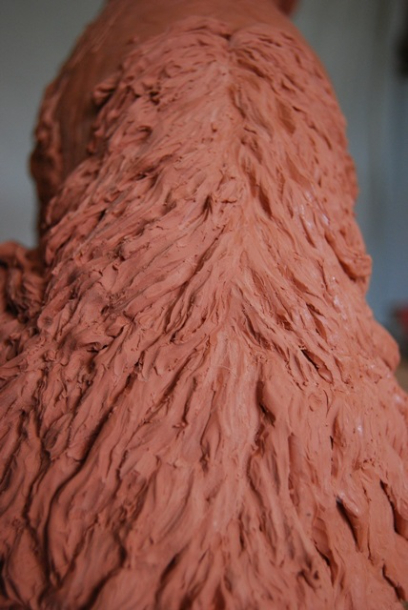
First development of the hair on the lower back.
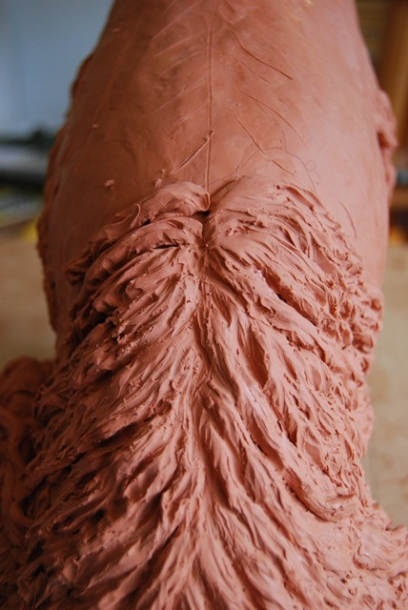
Transition of hair to the next area – up towards the shoulders – do you see how the hair parts?!
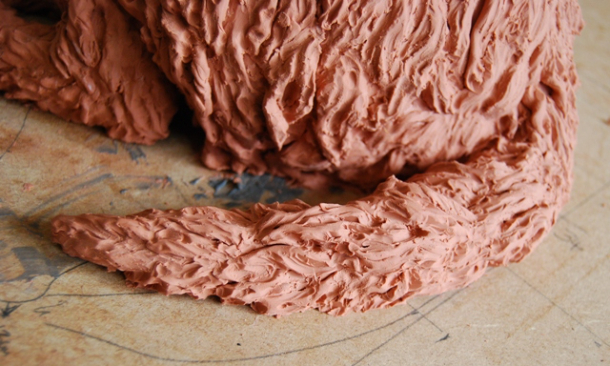
We are getting a hairy tail too – more to be done.
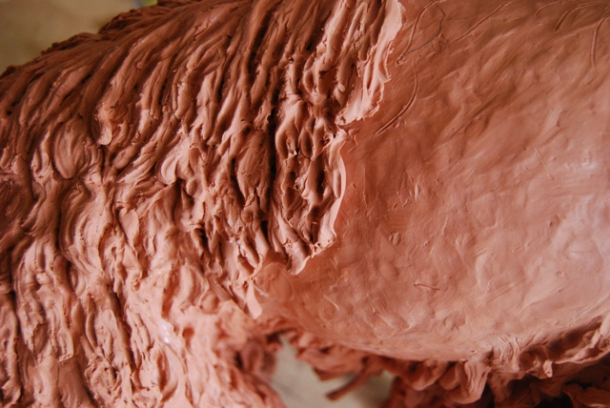
The hair developing up the right side and below a start on the right front paw.
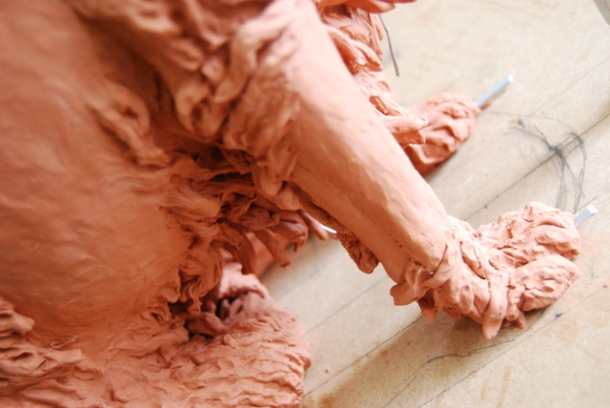
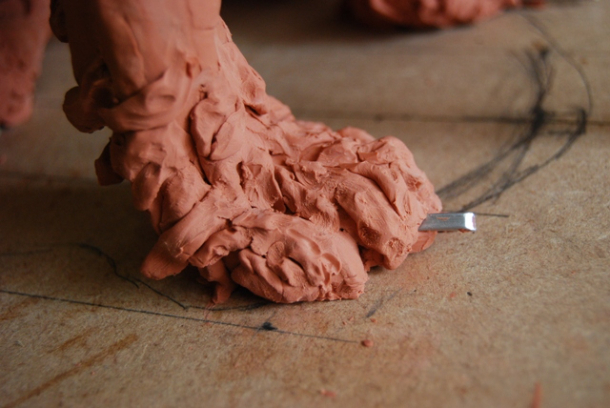
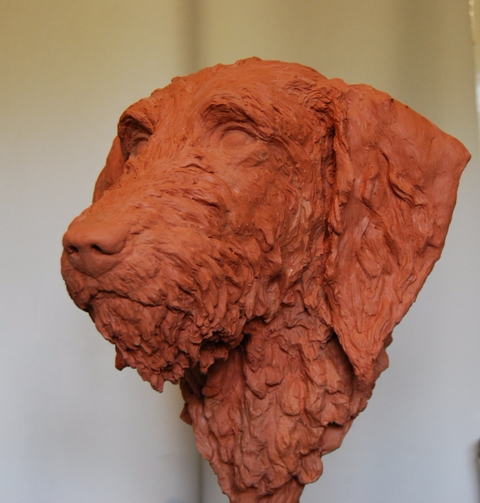
Progressing the build up of the hair on Milo’s head
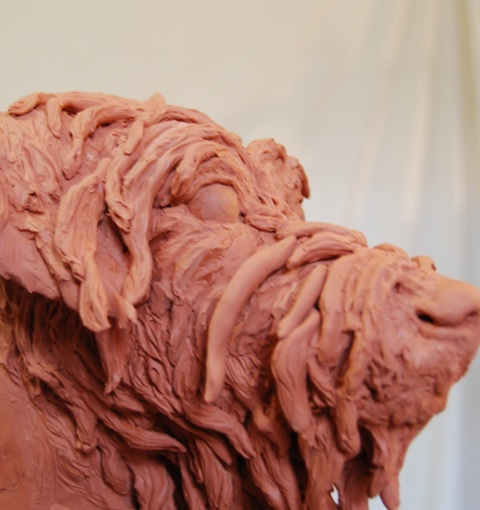
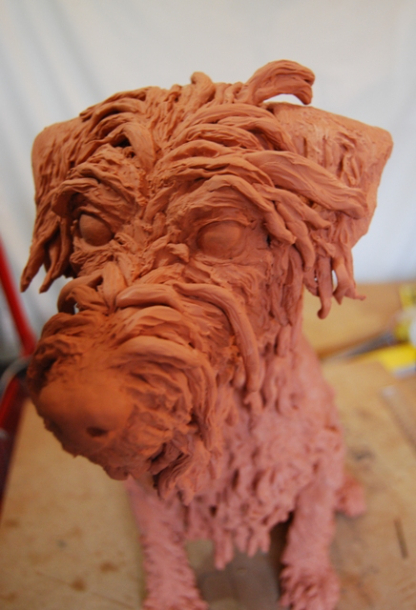
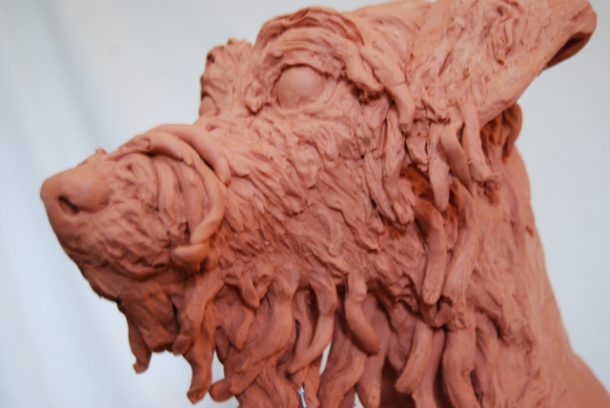
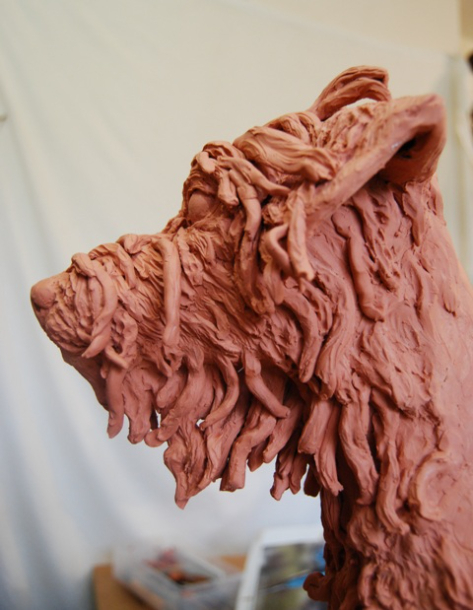
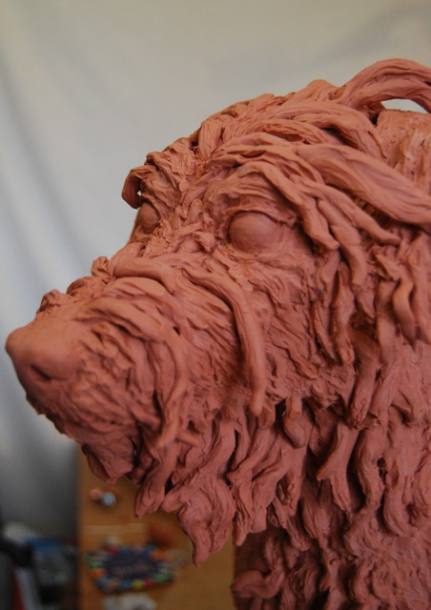
Oh that amazing hair and …. Now for more to the face and the development of hair on the neck.
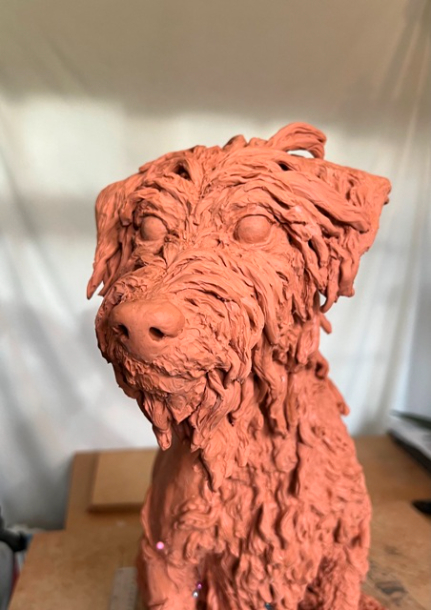
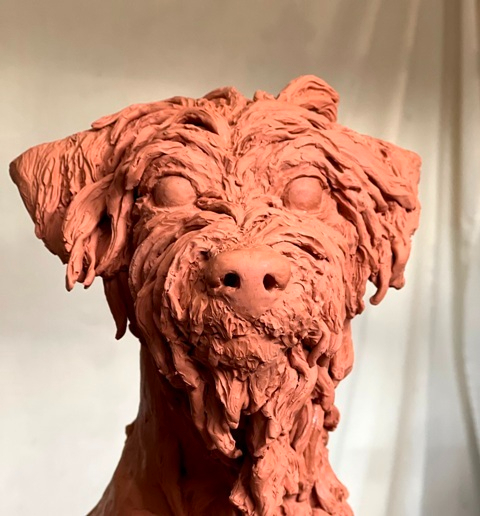

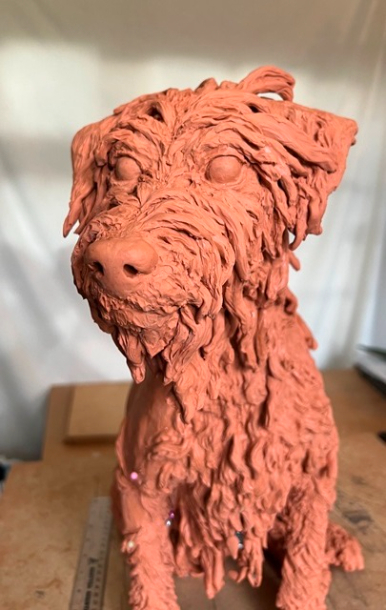
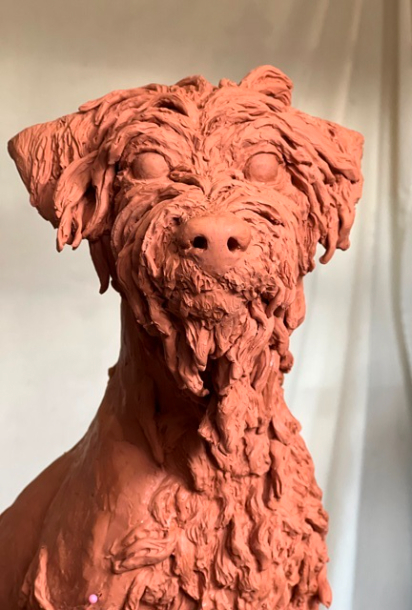
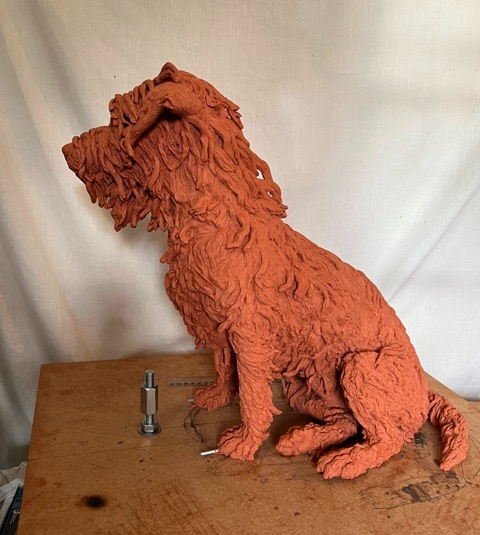
Nearly covered on the right side
And progressed the left side
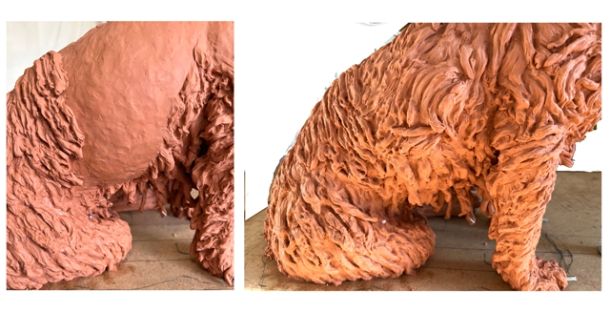
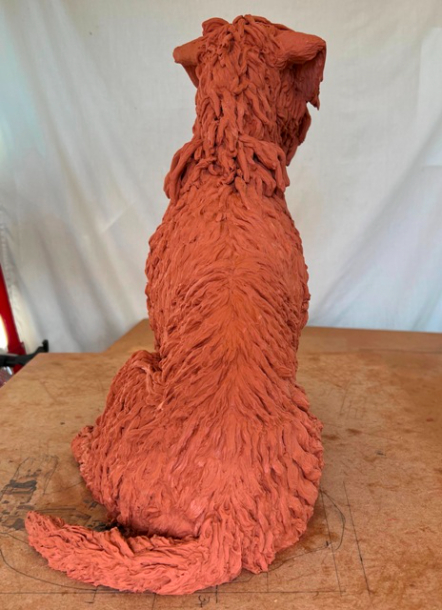
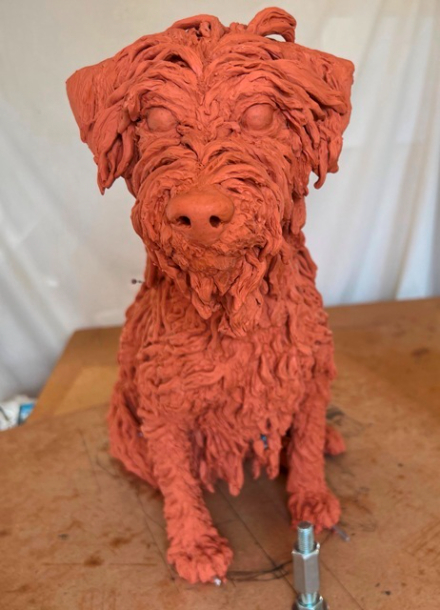
We are getting there
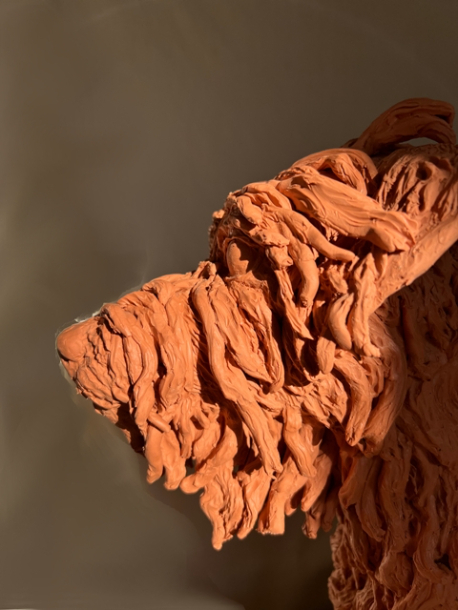
The fur on the neck is developing nicely – although it is a long labour to achieve the sense of lightness.

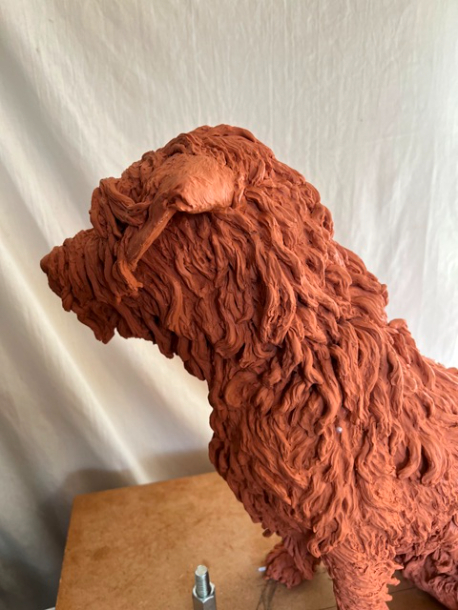
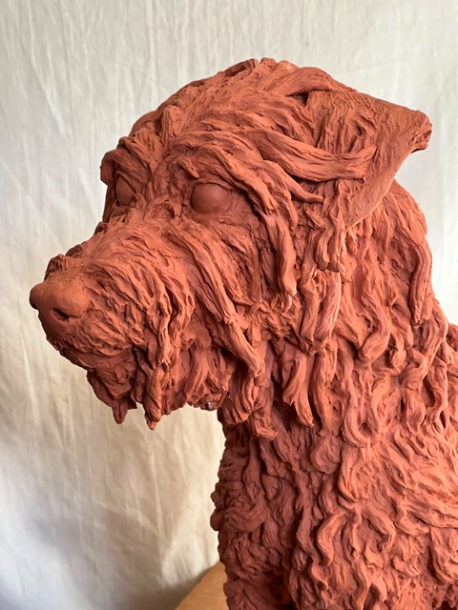
The long labour of love building up the hair on the neck – Milo’s Mane – without loosing the sense of light hair and his elegant neck
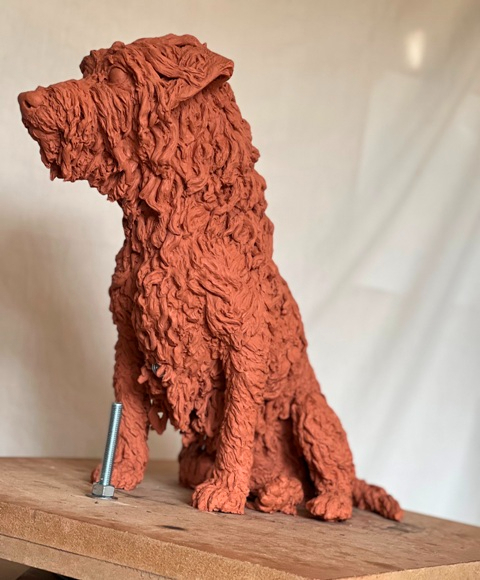
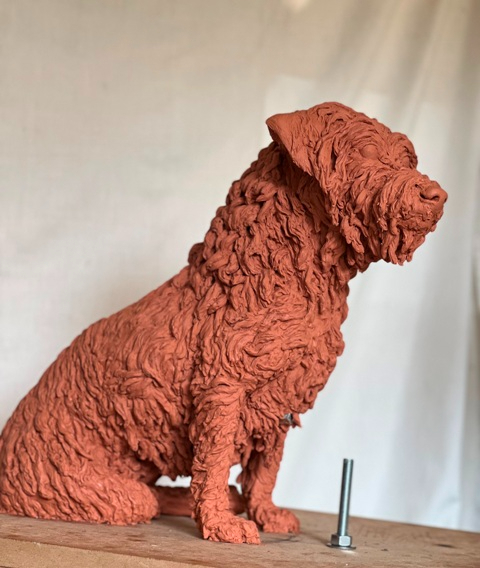
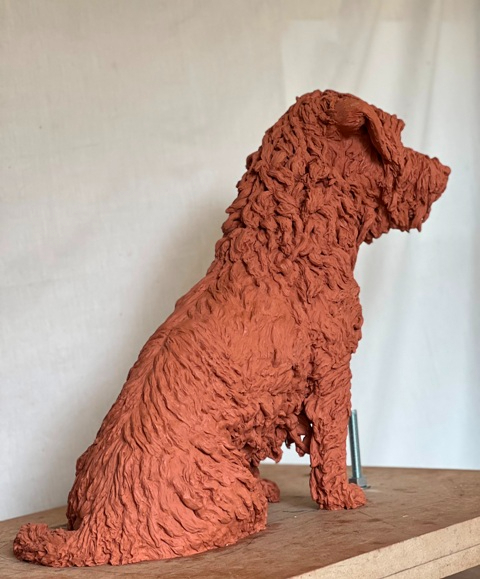
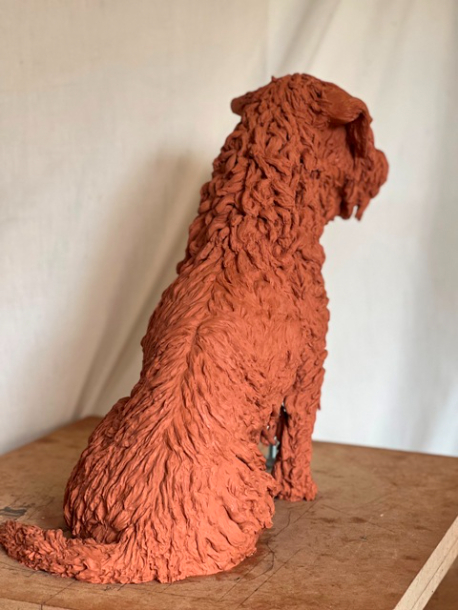
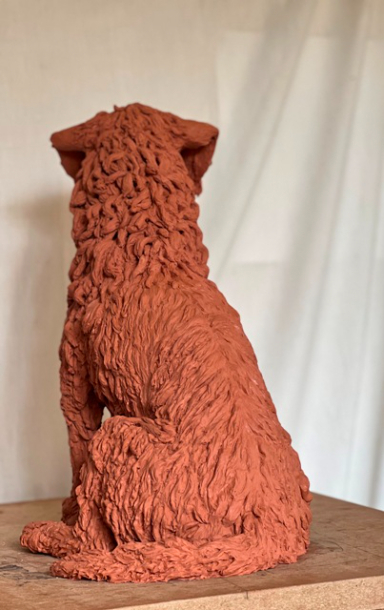
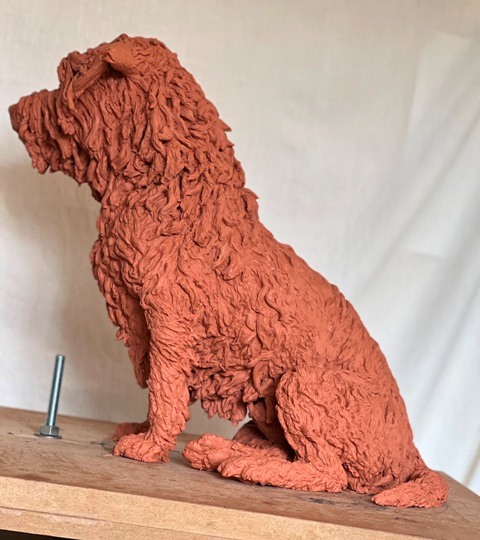
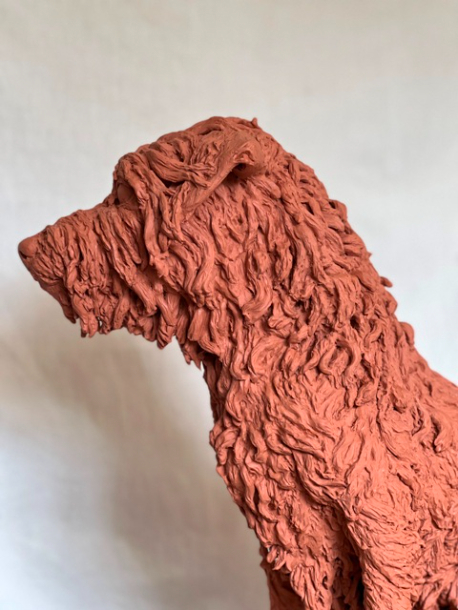
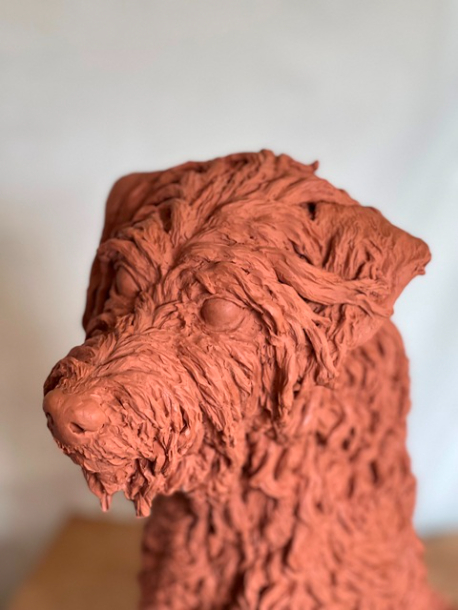
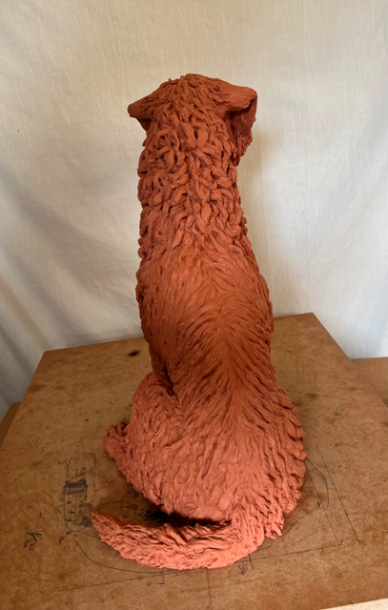
Here we are – the mould made and the wax poured and worked on
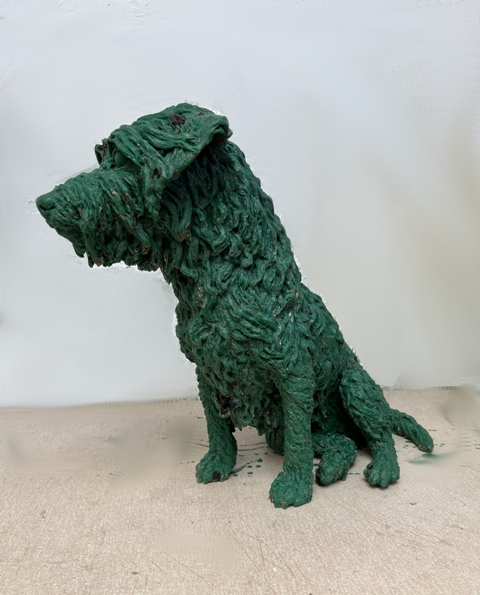
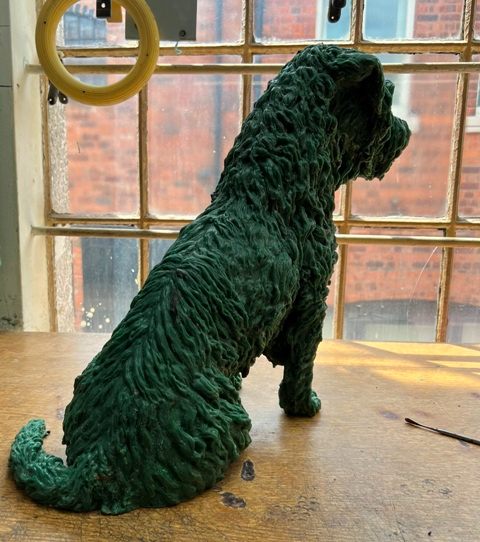
Rear view – see all the detail
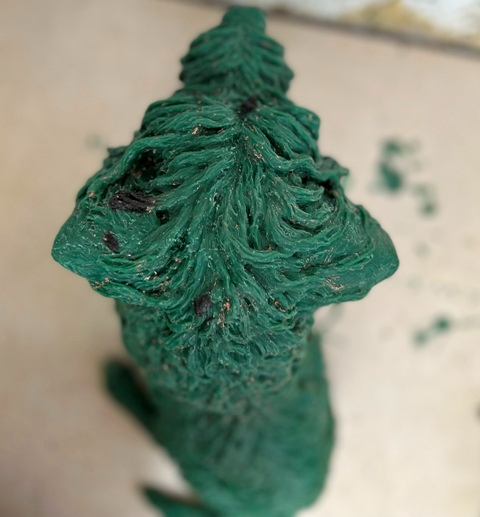
All that lovely hair on head and face
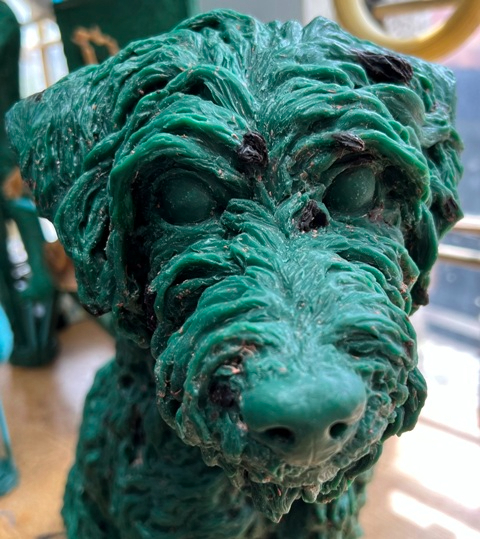
All cast in bronze and ready for new home